This is the fool-proof sourdough recipe Hollie uses every week, adapted (simplified) from a more complex professional bakers’ recipe. This recipe makes 2 medium-sized sourdough loaves, one of which you can bake straight away, the other you can put in the fridge to bake the next day.
Before we start, you’ll need a cast iron dutch oven. Here’s one we recommend!
There are also other tools to make the sourdough baking process easier, like a lame, bannetons, bread bags, etc. (here’s a great value starter kit). But, if you’re like us and want to give it a try first, you’ll be able to get away with using a sharp knife, tea towels, and mixing bowls until you’ve made sourdough baking part of your weekly routine.
Leaven Ingredients (this is the active part of your sourdough recipe):
- 30-50g starter (depending on your room temperature – less is good in hot climates, as it grows faster!)
- 90 grams of bread flour
- 90 grams of water
Sourdough Bread Recipe Ingredients (77% hydration):
500g plain flour
300g wholewheat flour (optional – replace with your choice of flour)
200g spelt flour (optional – replace with your choice of flour)
770g water
180 grams of starter
20g salt
Make your leaven:
In a large jar (700ml), add water and flour to your starter and mix it together until all the flour has been incorporated. The texture should be like a thick paste, not runny.
Let the starter feed on the flour and water and become super active. This will take about 5-6 hours but it will depend on your room temperature, so check after 3 hours to see how fast it’s growing.
You will notice that the leaven will start to dome on the top and has bubbled to twice its size, sometimes even more. This means it’s ready to use, so let’s begin bread making!
Make your sourdough bread (77% hydration):
Mix your sourdough ingredients together
In a large bowl combine your flours, water, leaven, and salt. Mix with a large wooden spoon. You want to make sure all the water has been absorbed. Your dough should be sticky to the touch. Give it a stretch and fold. Rest for 45 minutes.
Stretch and fold
Every 30 minutes for the next 2 hours give your dough 4-5 stretches and folds. Check out the video below!
Bulk rise
After your stretch and folds are done, it is time for the bulk rise. Set your dough into a container and cover with a lid or cling film. Let this rise until almost double in size. The time it takes to rise will depend on your room temperature. In the summer, it might take just 6-7 hours for my dough to double in size on the benchtop. If I’m not going at home on a warm day, I’ll put it in the fridge to slow growth, so I don’t over-proof. It needs to fit into your schedule.
Shaping
Once your dough has doubled in size, take it out of the container on to a floured benchtop and and spilt into two equal dough pieces.
Next, pre shape your dough balls by doing a coil fold (again, see the video below for the technique!). Cover with a wet towel / clingfilm and let it rest for 45 minutes. In the meantime, dust your bannetons with flour.
Now, we are going to do a final shaping. Check out the video to see how Hollie does her final shaping to create some tension on the surface of your bread.
Grab your shaped dough and place them top side down into floured banneton. Liberally dust the sides and tops of your bread with some more flour.
Final rise
Wrap and proof in your tea towels in room temp for 1 – 3 hours. I usually bake one straight away after an hour or so, and give the other its final rise in the fridge and bake the next day.
Bake
Preheat your oven to 500F (275C). Be sure to put your dutch oven in to get preheated as well.
Once the oven is preheated, flip your bread out of the banneton and onto a parchment paper. Brush off the excess flour and give it a slash right down the center of the bread.
Place the loaf in the dutch oven by using the parchment paper to transport it. Cover the dutch oven and bake for 20 minutes.
Next, take the lid off, lower the temp to 475F (220C) and bake for another 20 minutes or until you like the golden color of your bread.
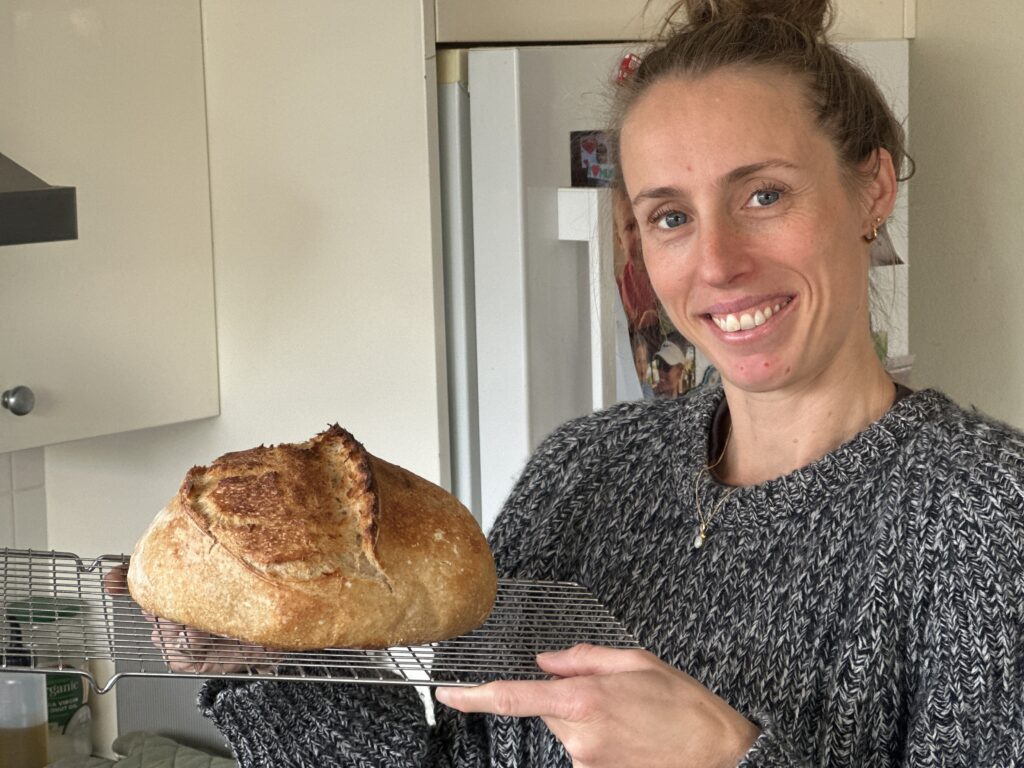
Now that the sourdough bread is done, take it out of the dutch oven and let it cool on a wire rack for about 20 – 30 minutes. Slice into your bread and enjoy with plenty of butter and jam!!!
Want to know how we fit this sourdough recipe into our schedule? Watch the YouTube video:
(Please note: This post contains affiliate links. If you click and make a purchase, I may earn a small commission at no extra cost to you.)
Hi where do you buy sourdough starter please
Hi Rachel, we got ours from a kind neighbour, but you can buy starter online (Amazon UK would be a good place to look!). If you have lots of patience, you can make your own in a few weeks, but I don’t recommend this option if you want to get going straight away! Young starters don’t make the best loaves. Good luck!
Thank you !